
SHARK
Tax excluded. Shipping calculated at checkout
The innovative slackline grip with serious grip!
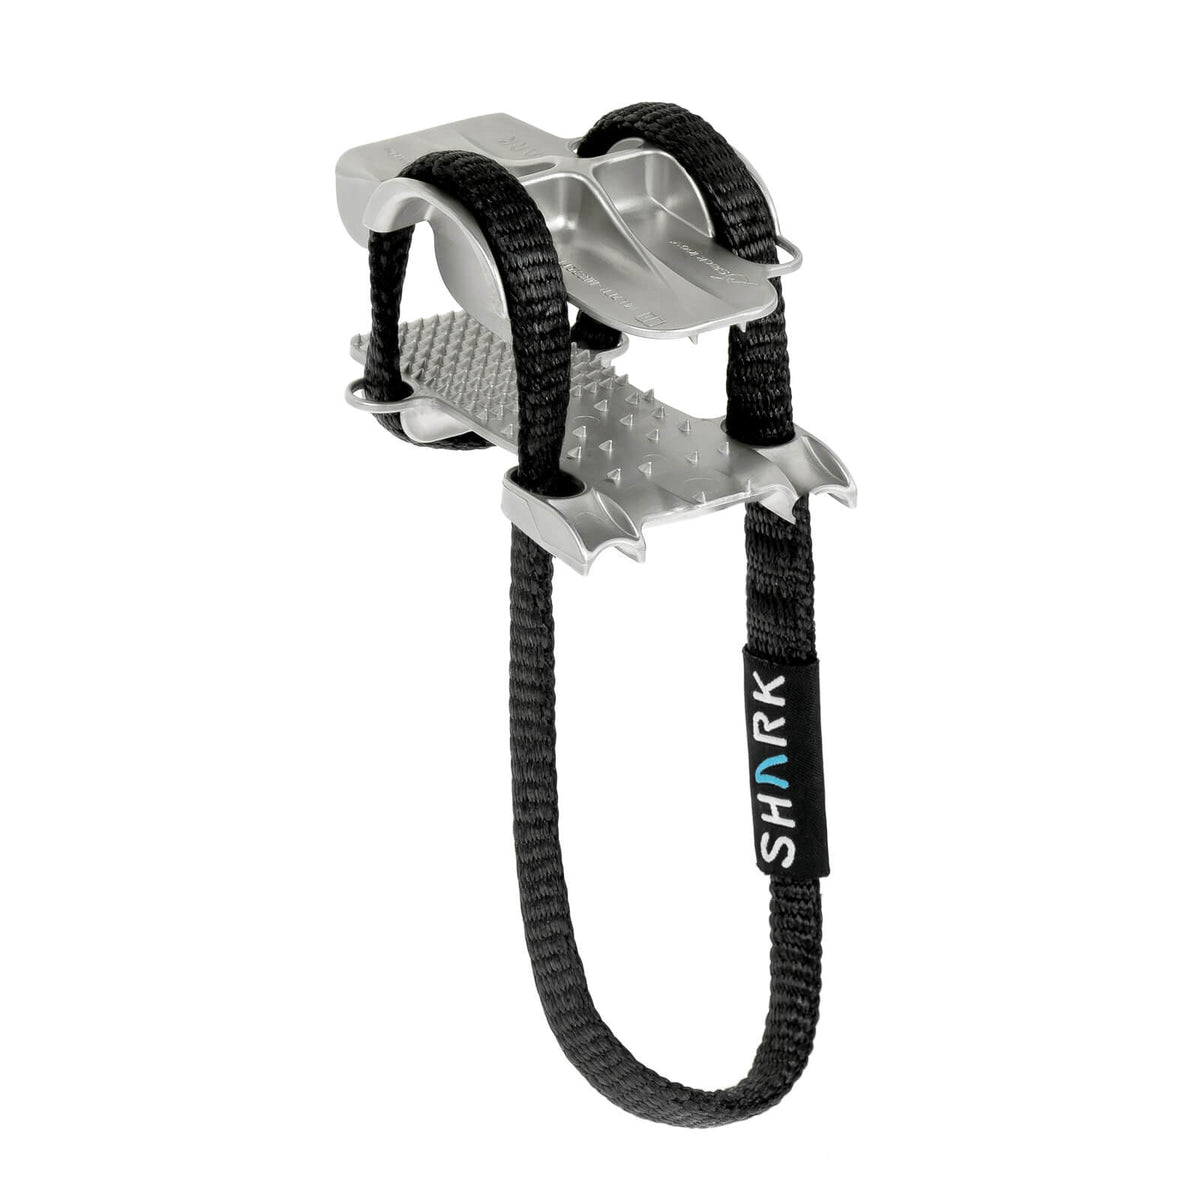
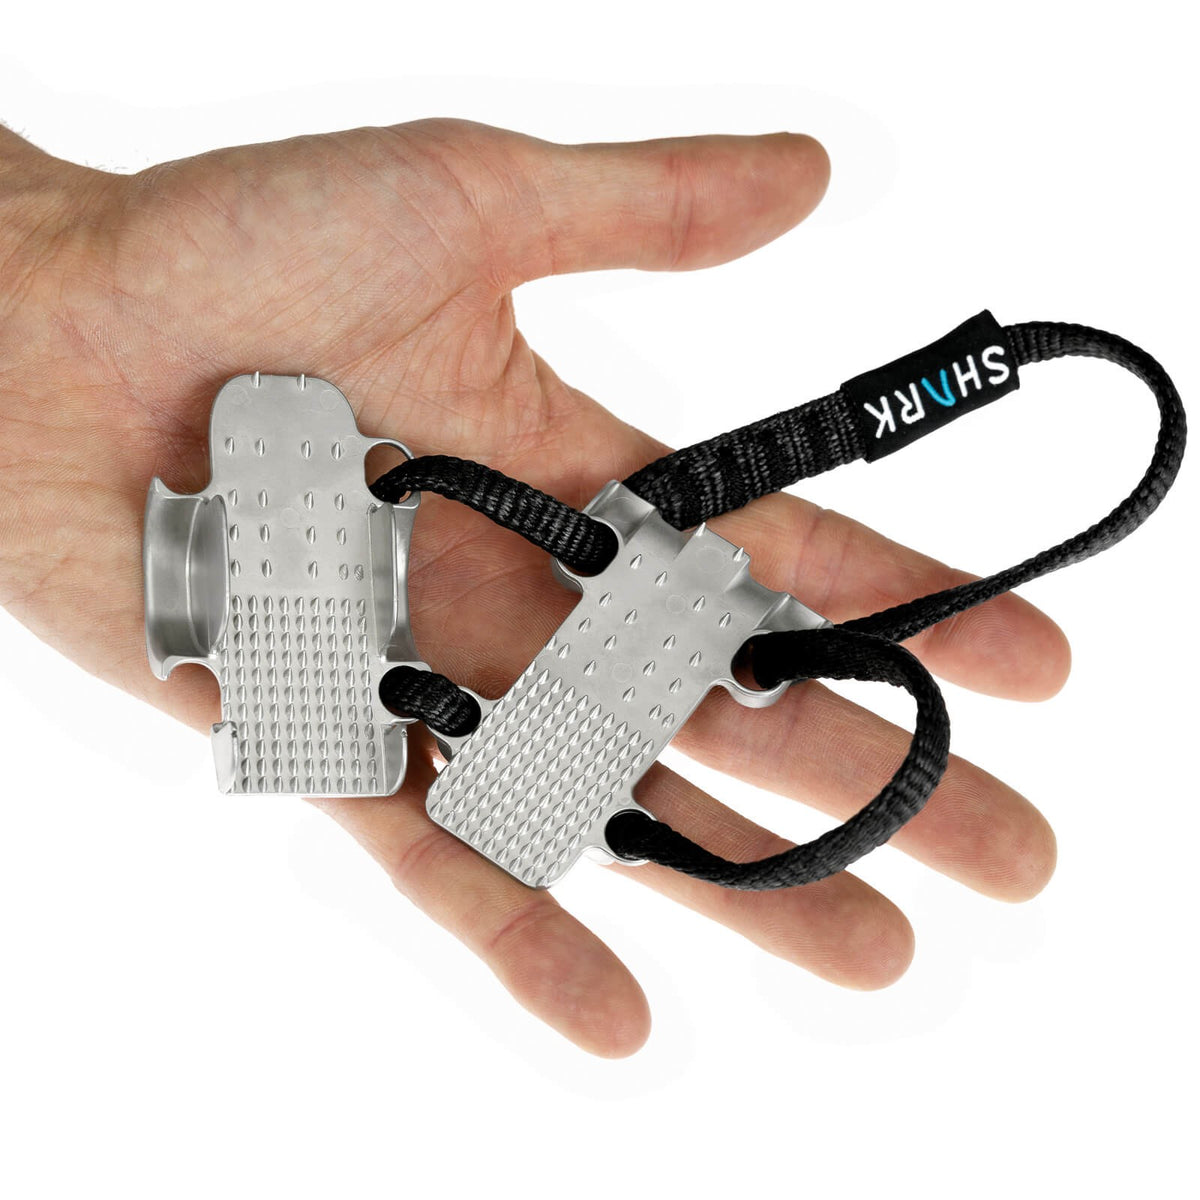
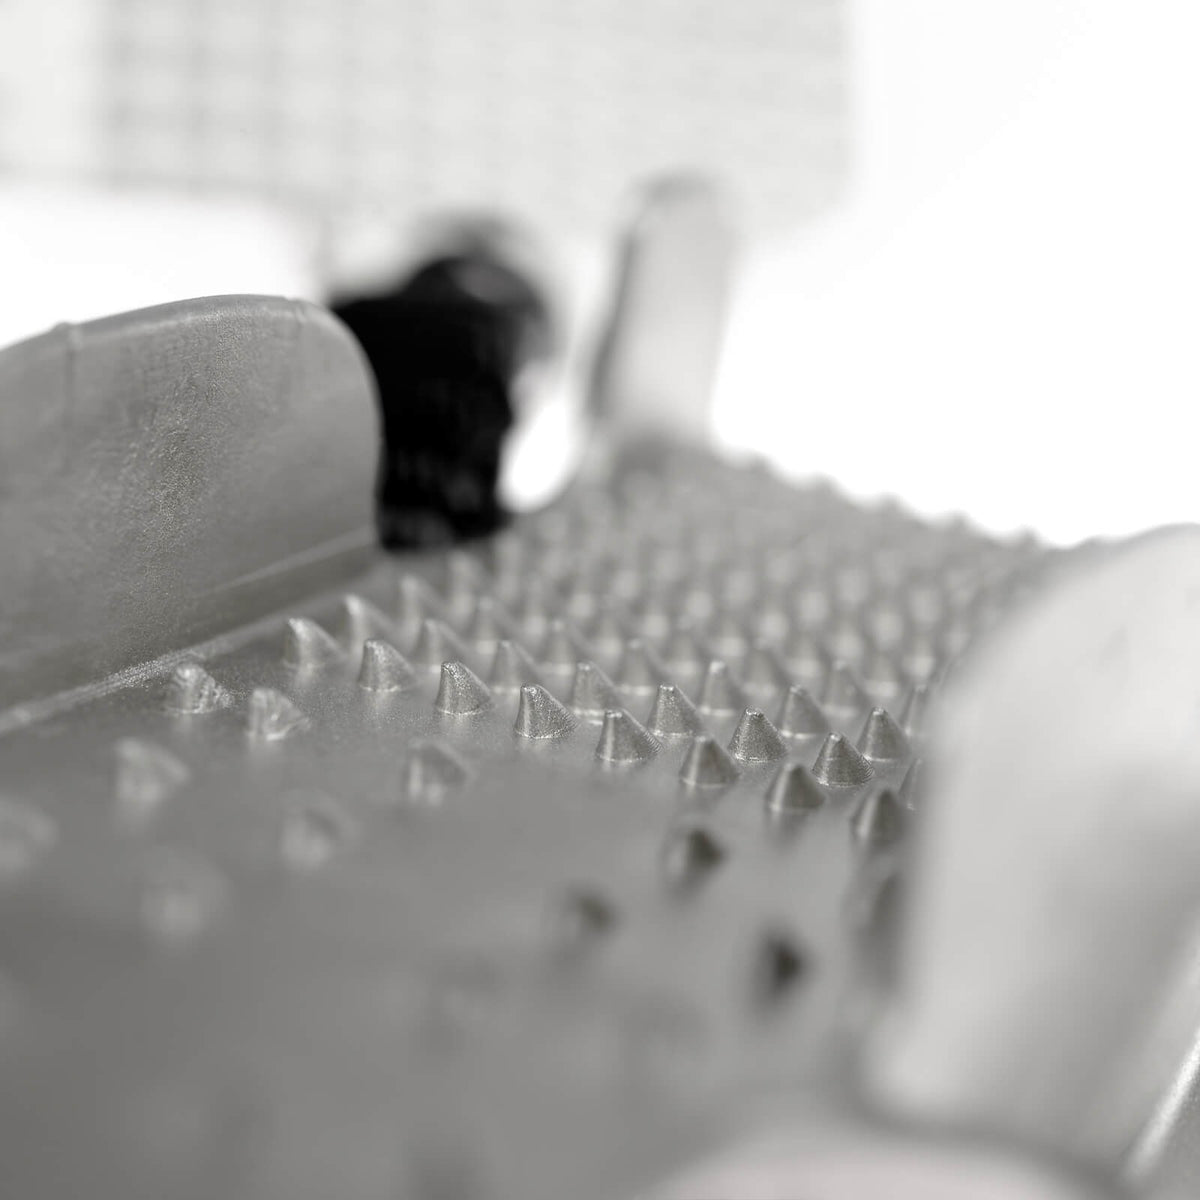
The brand new SHARK introduces a new technology: an ultra efficient, toothed gripping system, strong, light but heavy duty.
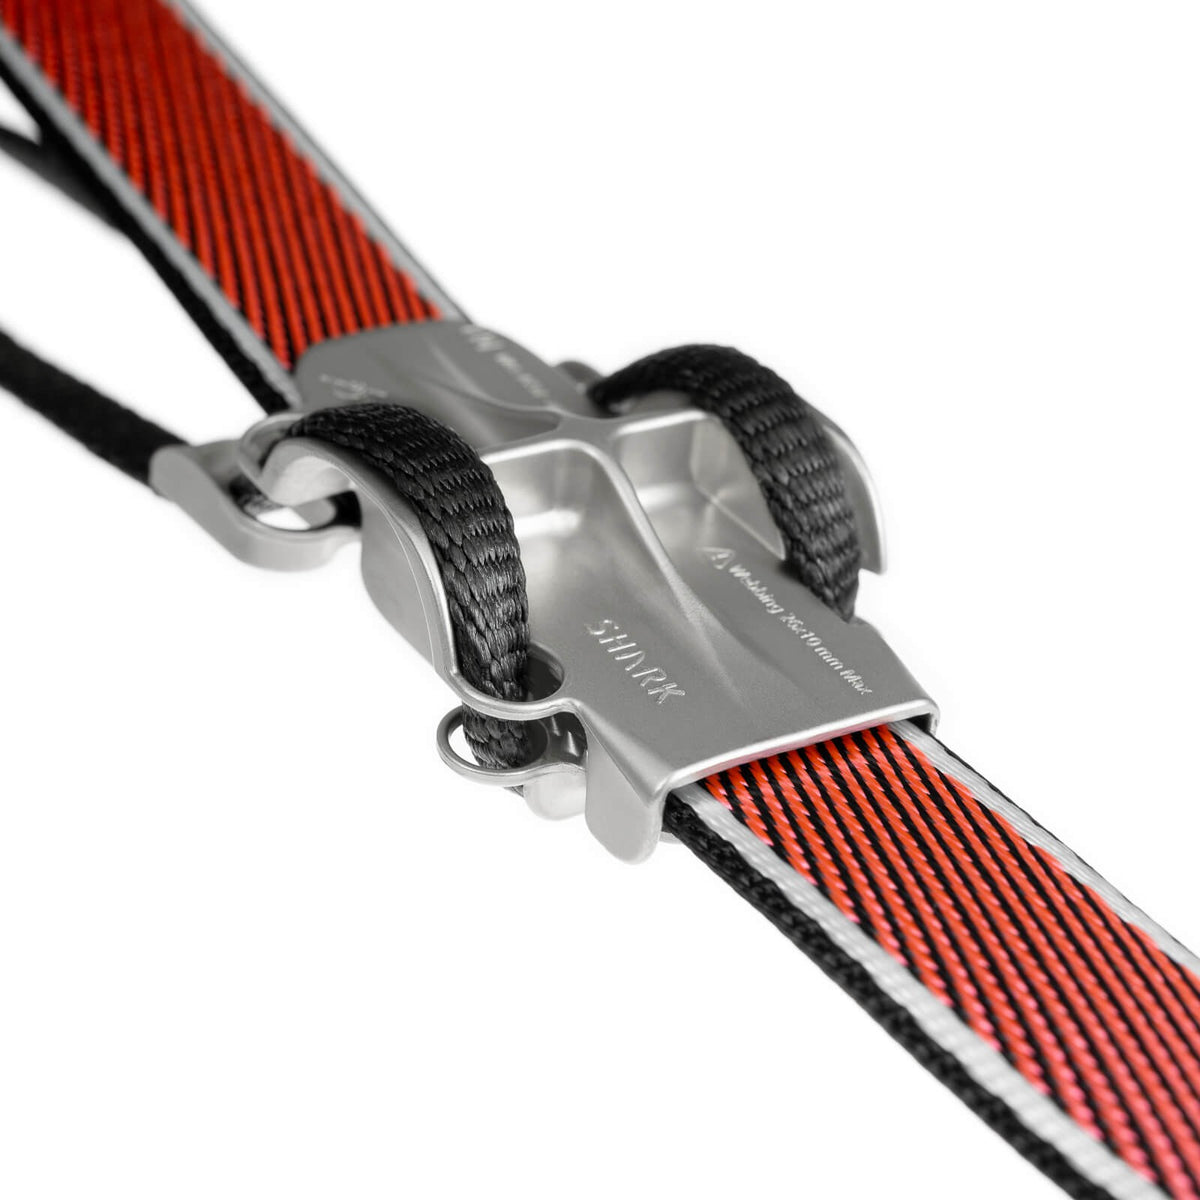
The toothed technology is designed not to slip, even in difficult environmental conditions, and suits basically all webbing models.
While a standard rubber webbing grip can easily fail due to high or low temperatures, strong humidity or slippery materials, you can rely on the SHARK GRIP.
This piece of gear will change your tensioning experience, especially if you often deal with dyneema or slippery webbings.
The perfect device for experienced slackliners and advanced highlining demands.
The SHARK for its great bite
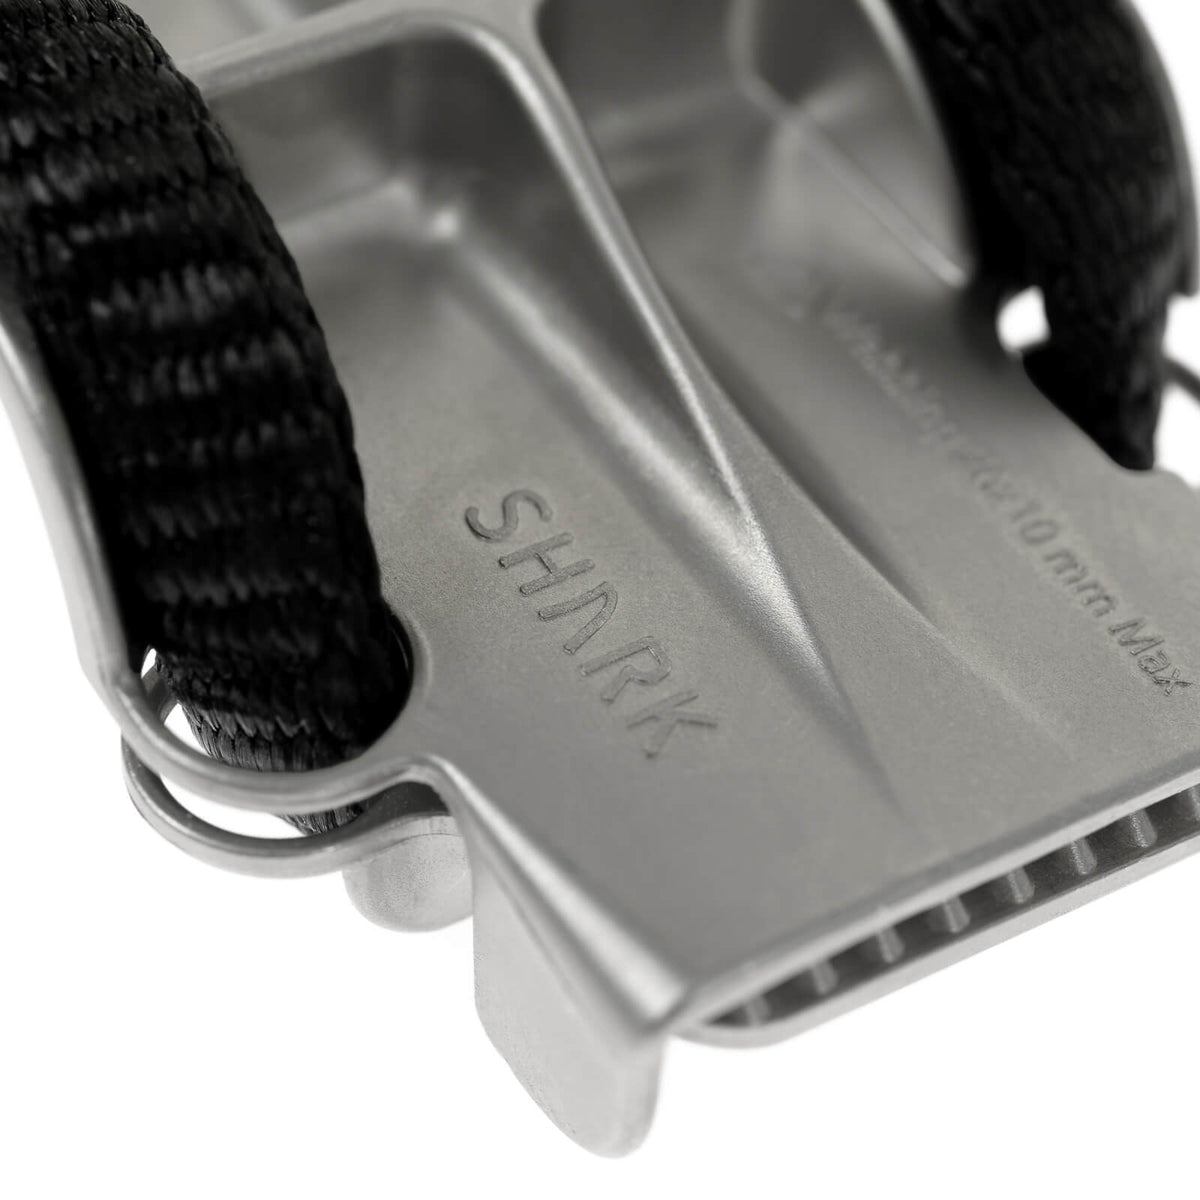
A very important goal of our development process was the exact arrangement, shape and number of the SHARK GRIP's teeth, in order to find the perfect grip without damaging the fibers.
With this carefully developed webbing grip, your webbing stays intact, just like your rope when properly used with a toothed device (e.g. Micro Traxion).
To help you gain confidence in this new technology, Slack Inov' replaces with a Slack IT webbing (Slack Inov' or Spider Slacklines) any webbing damaged by a SHARK used correctly as described in the instruction manual, while damage caused by misuse or by incorrect installation or handling is not covered.
Our powerful SHARK can pull not only narrower webbings from 0.7 in (17 mm), but especially super soft or slippery webbings made from UHMPE (dyneema) materials.
It can be used to tension up to 7 kN, enough even for very long highline installations.
DIMENSIONS: L 2.75 in x H 0.6 in x W 1.8 in
! WARNING ! To avoid any damage to your webbing, it is absolutely mandatory to read the SHARK GRIP manual carefully and watch the tutorial video, and to apply the correct pre-tensioning gestures before activating the pulling and gripping process.
Tensioning with pure simplicity
There are a few different ways to use the SHARK in a tensioning system. We recommend one of these two well-known techniques:
A) Without a real Pulley System:
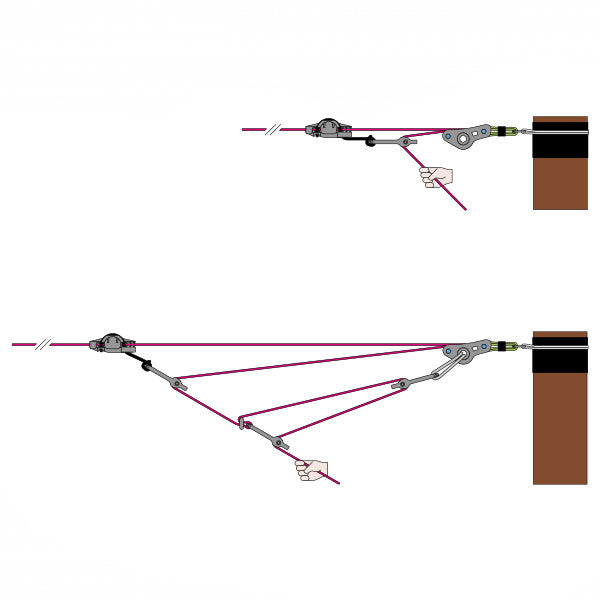
The most commonly used and fastest method to add tension to your set-up is so-called "soft-pointing" the webbing with a grip device like our SHARK GRIP, and pulling tension with the help of a few hands, or even alone, by creating a 3:1 ratio of your natural strength.
3:1 BUCKINGHAM system, in combination with a ROLLEX
After connecting your webbing into your weblock, pull through as much slack as possible to already create a minimum of tension:
- Place the SHARK at least 3 ft (1 m) away from your weblock, pressing the two plates gently but firmly together so the teeth can properly enter your webbing, then clip a ROLLEX into the sling of the device.
- Take the loose tail of the webbing exiting the weblock and clip it into the ROLLEX.
- The tail now coming out of your ROLLEX is the one to pull to create tension (always try to pull in the same axis as the webbing you are setting up, to avoid friction in your 3:1 pulley system).
- WARNING! Before starting to pull on your webbing tail, create proper pre-tension on the SHARK by pressing the grip plates together with your hand and pulling gently on its sling: this inserts the teeth efficiently into the fibers and creates the proper pre-tension needed to avoid damage.
- Now continue your tensioning process as usual.
With this technique, the slackline feeds itself into the weblock during the active pulling.
Don't forget your weblock anti-slip knot once you are done tensioning!

B) With a Rope Pulley System:
Instead of attaching your webbing directly into the weblock/linelock on the tensioning side:
- Attach your pulley system safely to the chosen anchor;
- Grip the SHARK at the end of your webbing and attach it directly to your pulley system, using a compatible connector (see below);
- Before starting to pull in your pulley system, create a slight pre-tension on the SHARK by pressing the grip plates together with your hand and pulling gently on its sling: this creates the proper pre-tension needed to avoid damage.
- Engage your pulley system several times, carefully pushing the SHARK further away from your anchor;
- Once you reach the desired tension, lock the tail coming out behind the SHARK into the prepared weblock at your slackline anchor;
- Pull in as much slack as possible, then remove the tensioning system and the SHARK and let the weblock take all the tension created.
Don't forget your weblock anti-slip knot!
Check some examples of our Pulley Systems to work properly with the SHARK GRIP.
Which is the best SHARK connector?
As stated in the SHARK instruction manual, use the following compatible connectors to connect the SHARK to your pulley system:
- ROLLEX pulley carabiner;
- EN 12275 symmetrical carabiners;
- quick links from Ø8 to Ø20 mm (0.3 to 0.8 in).
Our suggestion: the ALUMINUM CARABINER OVAL TWIST GATE, light and resistant.
Warning
The SHARK is not a PPE device. It is designed for advanced and special tensioning situations. It is absolutely mandatory to read carefully and understand its INSTRUCTION MANUAL and watch the tutorial video before use.
Product details
Data sheet
129 gr (4,55 oz.)
7 kN
25 kN